How to measure your front door opening
Five minutes with a tape gets you a quote you can rely on instead of a number that changes on survey day. Here is what to measure, where people get it wrong, and the sizes that cost extra.
Written by the Kilgate Doors team, with figures from the manufacturer's documentation and our installer's practice.
Czytaj po polsku →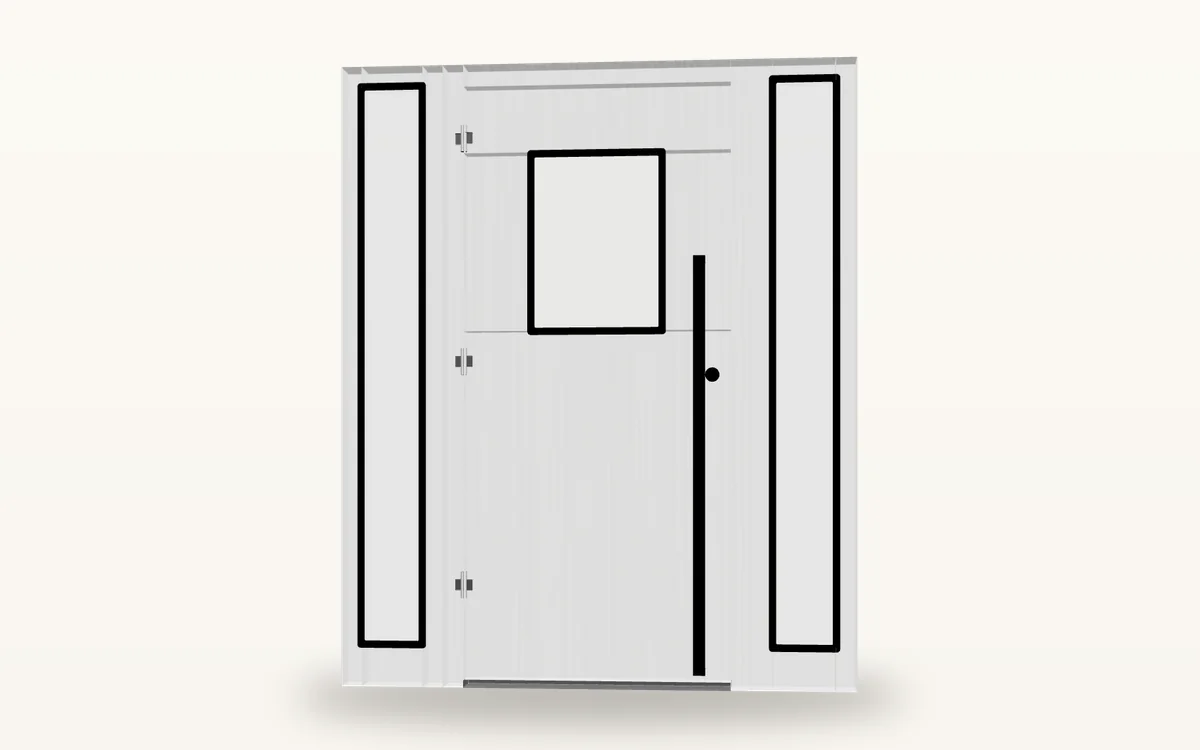
We measure every door ourselves before anything is ordered, and that survey is free. So this is not about ordering. It is about getting a quote in the first place that will still be true when we turn up.
Measure the opening, not the old door
This is the mistake that makes quotes wrong. The number that matters is the structural opening: the hole in the wall, measured to the masonry or the timber lining, with the existing frame taken out of the equation.
Your old frame sits inside that opening. If you measure the old frame and we build to it, we lose the fixing gap and the door will not go in.
If the old frame is still in place, measure the opening it sits in: from plaster edge to plaster edge, and from the finished floor to the underside of the lintel. If you cannot see the edges, measure the old frame outside to outside and tell us that is what you did. We will know what to do with it.
What to write down
Width, three times. At the top, the middle and the bottom of the opening. Openings are rarely square, especially in older houses, and the smallest of the three is the one that governs.
Height, three times. At the left, the centre and the right, measured from the finished floor, the floor you will actually walk on, including any tile you are about to lay.
Both diagonals. Corner to corner, twice. If they differ by more than about 10 mm the opening is out of square, and that is worth knowing before we build to it rather than after.
The wall thickness. Measure through the reveal, inside face to outside face. It decides how the frame sits and whether the reveals need making good.
The floor. Note whether the inside floor is level with the outside, a step up, or a step down. Our threshold is 91 × 20 mm, so it is a low profile, but if you need genuinely level access it is worth flagging at quote stage rather than on the day.
Then take four photographs: the door from outside, from inside, and both reveals. Photographs answer more questions than measurements do.
The sizes that cost nothing extra
Five frame sizes are standard, and there is no surcharge for any of them:
| Name | Frame width × height |
|---|---|
| 80N | 909 × 2,085 mm |
| 80 | 949 × 2,115 mm |
| 90N | 1,009 × 2,085 mm |
| 90 | 1,049 × 2,115 mm |
| 100 | 1,149 × 2,115 mm |
Anything else is made to measure, anywhere between 849 and 1,149 mm wide and 1,965 and 2,405 mm tall. Made to measure carries a surcharge that depends on how far outside the standard sizes you go. The configurator tells you which band you are in as you type, and we confirm the figure on the quote.
If your opening is close to a standard size, it is usually worth adjusting the opening rather than the door. Twenty millimetres of plaster is cheaper than a size band.
Two details that surprise people
The handle height does not move. It sits 1,035 mm from the bottom of the leaf on every door we make, whether the door is 1,965 mm tall or 2,405. That is the multipoint lock, not a design choice: the mechanism is a fixed strip and the handle engages it at one point. A taller door gets more door above the handle, not a higher handle.
Sidelights need more room than you think. The minimum is 260 mm wide, and the visible glass is the width minus 110 mm, the rest is frame. So a 300 mm sidelight shows 190 mm of glass. If you are knocking out a wider opening specifically to get sidelights, work backwards from the glass you want to see.
Then send it
Put the numbers into the configurator with the design you want and send it over. You will get a price against the actual opening rather than a range, and we will bring a tape to confirm it before anything is cut.